
I’ve decided to split the FB6 prep and the actual event into two posts. There are close to 200 photos total, so I figured this would be easier to get through as a reader.
During the prep, I went through some tremendously painful lows, but also enjoyed some invigorating highs. I specifically made sure to begin drafting this post as early as possible to keep the anecdotes fresh in my head to maintain the shelf-life of my experiences.
David Bob and I did the Twin Drift RSD competition in Pocono Raceway in late July a few weeks prior to FB6. This served as the prime kick in the ass to have the car mechanically tested and prepared. I tossed my old DIY power brace and picked up a PBM unit.

The only small qualm is I didn’t like how the stud for the sway bar bracket backs out over time. Some blue loctite kept that thing together and allowed me to remove the nut without taking the entire stud with it. I also tried some fresh rear coated rotors and Project Mu pads. I haven’t had a properly working ebrake since 2019-2020, so I was hoping we could rejuvenate that thang. I don’t know if the cables got stretched over time, the pads got glazed, or the rotors were smoked. Nick also gave me some GKTech cables when the car was at his house, so I threw those on as well. A quick alignment on the trailer it went.

I ended up arriving at Pocono the night before and dropped off the rig and started setting up my pits while the Haze and Karoshi boys were putting the layout together. When I got there, Mike P and Matt Craig were flying around the road on pitbikes. Mike’s hat or glasses fell off when he took off over a bump and he had to do a ride of shame back to retrieve them – they’re both hilarious. We left the track once it got dark and I drove the car over to their condo and we kicked it a bit while David Bob arrived in the area. Mike welded some killer trophies and was giving them a coat of paint while we were kicking it. They all worked so hard and sacrificed their own driving to ensure all the drivers had a good time. Once DB was close, we went over to the crib he locked in for us. Kasia (DB’s girl) brought us mattresses and shit because I didn’t realize the house we were staying at was totally gutted! We had a few beers, chatted for a bit, then dozed off – when I woke up my mattress was completely deflated but I felt nothing during my slumber.
We jostled out of bed and off we went to grab some breakfast!

This pig-themed restaurant in Lake Harmony, PA had some bomb omelets. Although I was quite hungry that morning, I always struggle with eating on a drift day. I presume it’s the anxiety leading up to the event.

We didn’t go into the comp without much expectation of a strong result, but at least wanted to go Top 8. During practice, the comfort with the layout started slowly building up, and we enjoyed some decent laps.
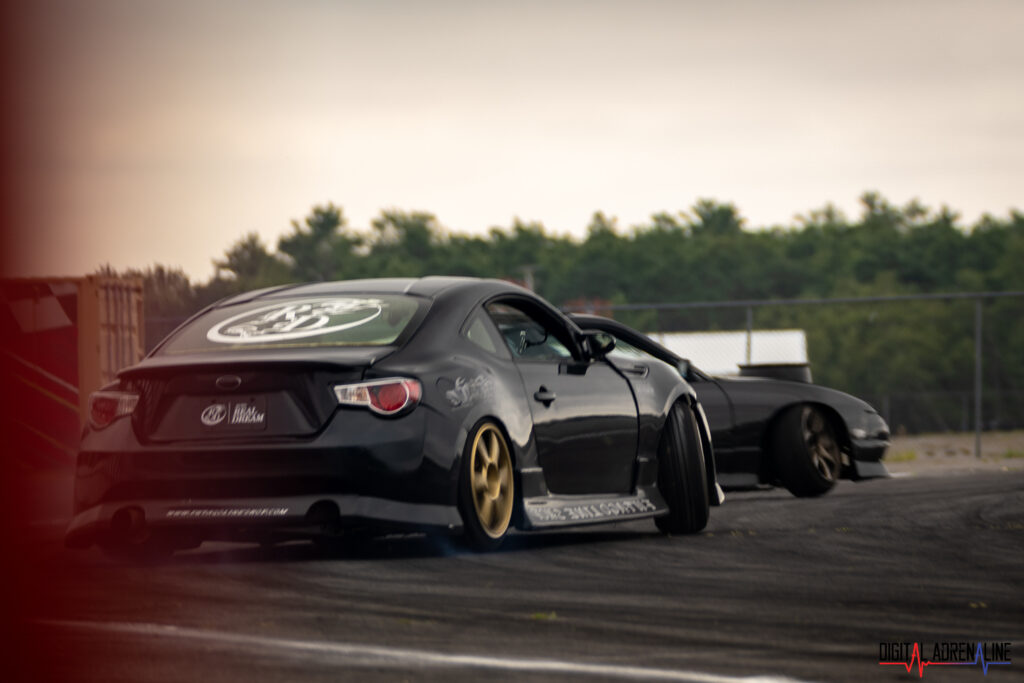
We threw down what we felt like were decent comp runs, but unfortunately they weren’t enough for Top 8.

Once we went over to watch the Top 8 battles, it was evident why our runs were not enough – these teams were all pushing incredibly hard. The level of grassroots globally is getting stronger – older drivers that have been in the game for awhile are leveraging years of experience, and younger drivers are catapulting themselves in the limelight with an abundance of sim driving practice. I’m not saying that older drivers don’t also leverage the sim, but there’s surely been an uptick in sim driving within the past few years, especially after the 2020 plague. Young sim drivers with minimal real, on track, driving experience are blasting out the gate with a strong baseline of technique, that may take years to acquire on a real track. All these teams had synchronized transitions, good lines, and were entering with speed. The bar was set high, and this comp was definitely motivating to try to push the level of comfort in my driving. The event ran quite smoothly – we got a decent amount of seat time despite running grid, the layout was fun, and the overall ambiance was fantastic, even among competitors. That last point is key, an organization that can run a competition with no drama, where competitors are local guys that generally drive together regularly is an organization that helps ensure the growth of drifting at the grassroots level.
Big thanks to Barry for these awesome photos! Barry is always so jovial and radiant at every event – his passion for his craft definitely shows.


David Bob and I both left the event in great spirits – had some fun laps and minimal damage to fix. As soon as we got home, the car was torn apart for some final aesthetic prep. I needed to repaint one of the front fenders, the hood, and a side skirt that broke off while moving around on grid!
The fender had split, so I welded the crack and finished up the bodywork and primer. The inner lip always splits once the heat from the tire rubbing stretches the metal out. I’ve found the fenders stay stronger for longer if you don’t roll the inner lip completely flat. It still allows for a degree of flex, but the overall structure of the fender arch is stronger when compared to a nice, flat roll (which is preferable for clearance, obviously).


The radium valve cover fitting actually struck the hood at some point on the second day of SSE in May of this year. Oddly enough, I always thought that was the section of the hood cut that had the most clearance, but the engine vibration ended up making a small dent and chipping the paint. The mounts are Nismo and a few years old, but I probably ran over the curbing on track while revving the shit out the car and smoked the hood cut.
I opened the whole thing up about 5mm all around, and a little extra space near the fitting, just in case. This hood has a ton of paint layers. It looks like modern art, or something.

Here’s everything in epoxy:
The paint process on the three panels was heinous, as usual – I absolutely dread painting. The bodywork side is fine, I don’t love doing it, but I feel like I have a decent understanding of the basics of restoration, and have acquired some experience with my cars. I don’t have any real experience painting. I’ve been trying to paint my own shit for a few years, but I have had such limited success that I don’t think the experience has been real. You would need to experience a degree of victories to truly understand how you got there. That hasn’t really been the case with the paint gun and I.
With bodywork, I’m pretty proud of how the coupe engine bay turned out, for example. I’ve been able to straighten some damage, repair fiberglass, and bring back tension to a warped panel. I’ve essentially learned some of the basics of auto restoration. The pre-paint steps, I felt decent about. Don’t be fooled – the bodywork on the hatch is absolutely subpar. I definitely do not put the same level of effort in fixing this car that I do on the coupe, which is not meant to be drifted.
I ended up having to paint the hood three times. The first attempt, I got an insane amount of solvent pop. I think this was because the ambient temperature was ~100 degrees, and the reducer I had was a slow reducer that ranged from 80-90 degrees. The solvent pop was so deep, that it went through the base and into the primer. I was absolutely gutted, and had to nearly strip the entire hood. The worst part about fucking up this badly is you not only need to re-do your work, but you need to wait for that shit to cure some before you start sanding. It’s that extra layer of punishment that really jabs at your mental. You get to stare at the disaster you created while it cures, with your dunce hat in the corner. If you’re lucky you have the luxury to wait overnight, so you can reset before jumping back in. When I went to sand everything off the next day, the 80 grit got all clogged up so I left the damn thing in the sun then blasted the panel with the 40 grit, which absolutely obliterated the paint off.
I re-did everything, got the hood in primer, and when I went to shoot the base, I tried way too hard to get an even looking, wet last coat. Everything looked uneven, and due to my inexperience with base/clear, I didn’t know what to expect. I waited for the base to fully flash, and wetsanded the last coat. I sprayed another coat of base, then shot the clear.
The fender, however, came out awesome. That thing just needed the dirt nibs buffed off and the finish was good. While it was not free of imperfections, I’d be pretty happy if my entire car had this level of finish.

The clear on the hood had a good bit of texture that I was able to sand off and buff. I purposefully sprayed a wet last coat knowing this thing would need a cut. Hopefully I can improve my off-the-gun finish during the next project.

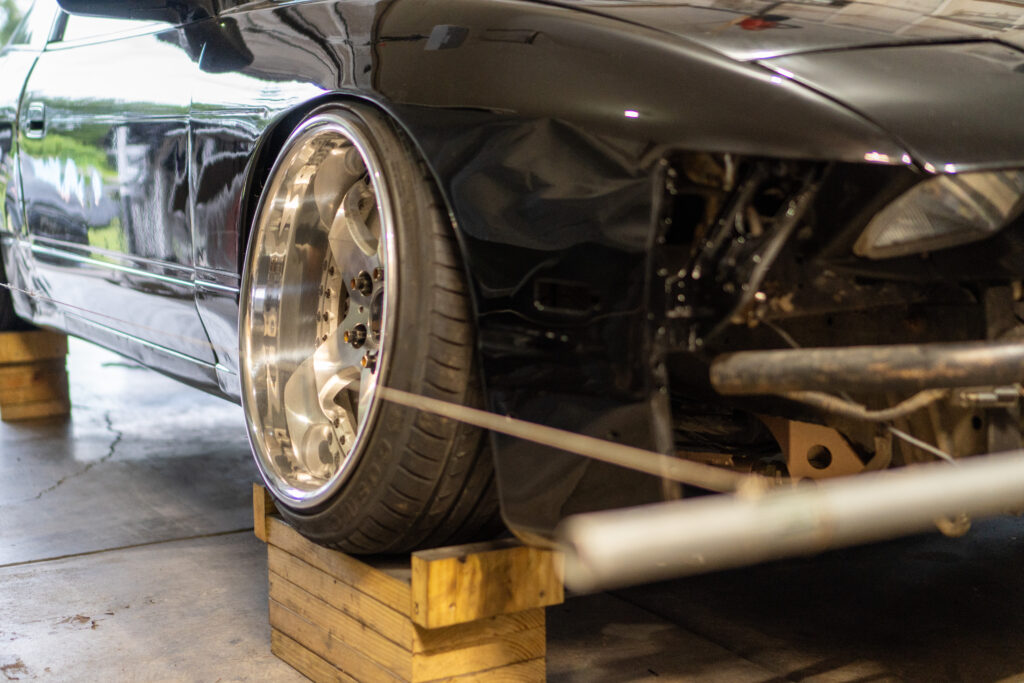
Here’s the car all back together:

I also painted the passenger skirt, this one required no buffing at all. The clear actually had some gnaaaarly runs, but I rotated the skirt while it was curing, and the runs just went off the side. Sometimes you win, I guess. Even if it’s unconventional. While painful, this was a good experience and I’m ready to give painting another shot.

I wanted to have the car ready to go before the next set of jobs, just in case I run out of time and need to bail on a project – so I did a quick alignment. I try to break down my pre-event to-do list in order of severity. I save the fun stuff for the end, because these are just “nice to have” projects, not absolute necessities.
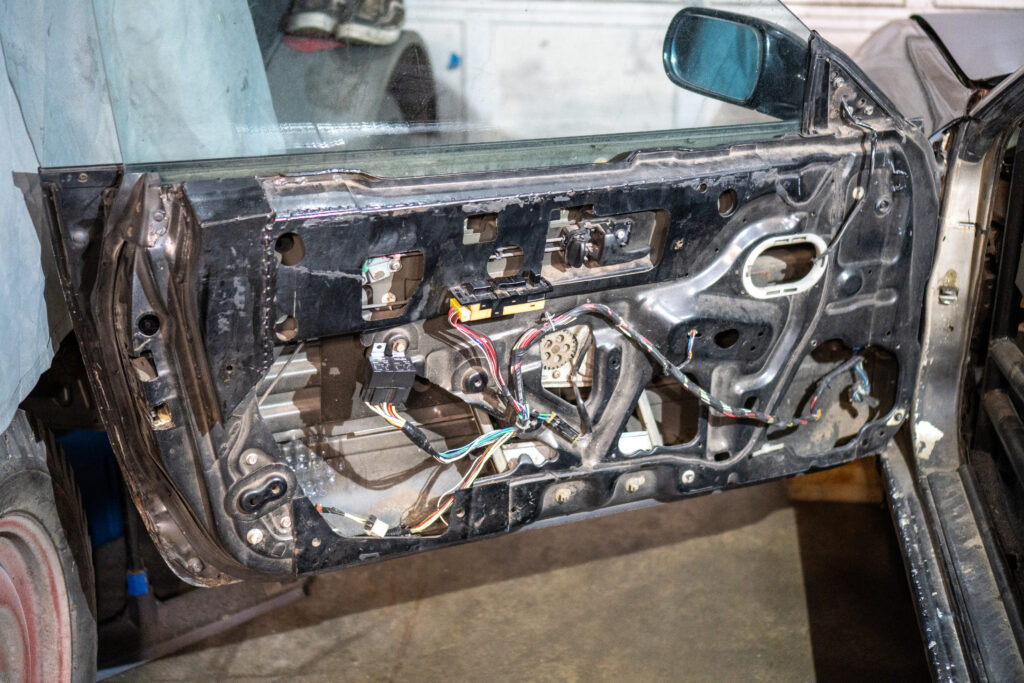
The first fun project was the door cards and door switches. As you can see in the photos below, this is a vert door. If you recall from a prior post, I switched to vert doors to avoid smashing up my dent-free non-vert power doors. Thankfully, I did. If you look closely the door has multiple repair marks from getting hit!
Anyway, this is ugly, and I was tired of looking at it. I could run a conventional door card and remove the lower section to clear the cage. Instead of potentially trashing my good condition door cards (that I need for another project, anyway) I picked up some LRB panels. There were a lot of different options, but I wanted the slimmest one possible, a completely flat panel without holes. This required cutting the ever living shit out of the vert door (essentially converting it to a non-vert door) and cutting out the hump just below the handle. Convertible doors were just regular S13 doors with additional reinforcement, and a mount for the upper vert bracing that mates to the ragtop, both spot welded on.
To run these panels, I would have to relocate the door switches to another part of the car. This meant tearing the entire door harness apart, and extending the wires for the switches to a new location. The power window amplifier went bad at an event a few years ago, and the window would not go up. Instead of spending $100 on another one that would eventually also die, I replaced the amp with two cheap SPDT relays for $6.
The fun part was figuring out where to run the switches. After raising the trans tunnel, I essentially rendered the storage part of the center console completely useless, along with the small change holder/ashtray. What better way to bring some life back to the center console with a fresh switch panel for my electronics?
The original center console on the car always had a goofy rectangular hole for a switch of sorts. It’s always bothered me but I never knew how to fix it. I plastic welded the hole shut, and got the rest of that center section ready for some paint.

I made the plate out of 1/8″ aluminum, and made a bracket to bolt the switches onto the console. The fit was meant to be! Here’s the raw plate with the painted console:


I also drilled a hole for the tire sprayer switch and painted the panel silver

See me out here with my foreign on the console switches.

By trimming the door skin and relocating the harnesses, I now have a shaved panel. I didn’t have time to paint this thing yet, but I’ll get to it soon. Even raw brushed aluminum, this is a major improvement over a dirty, gutted panel.

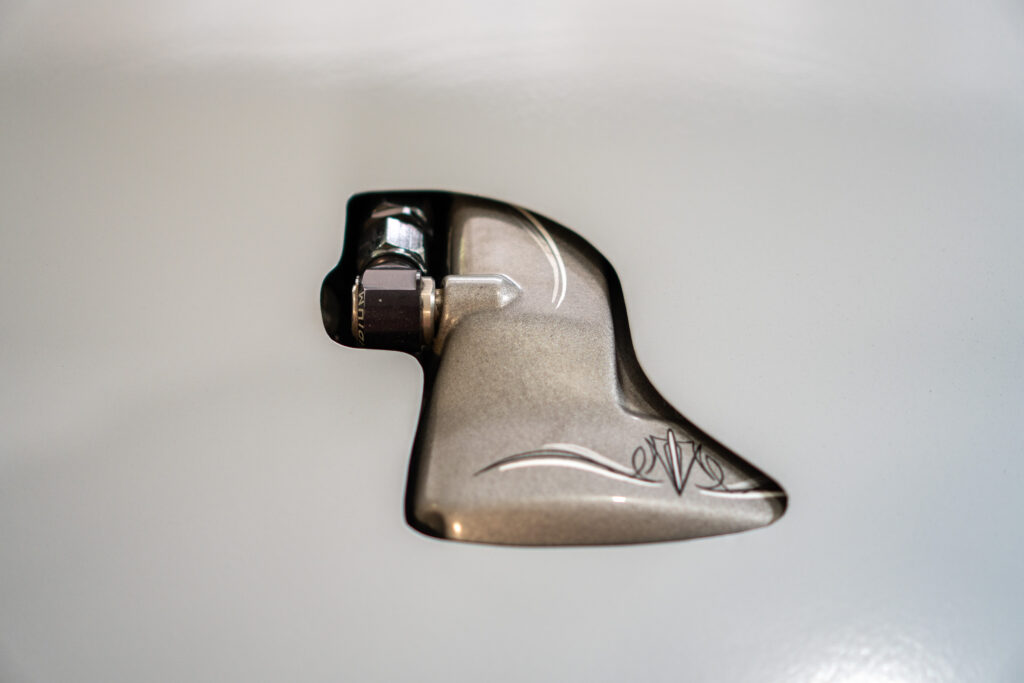
The last fun project I needed to do was something to protect the distributor from rain with the hood cut. I always wondered how people deal with water getting into their engine bays with vented hoods and such. Some hoods have a cool water trap that redirects the water elsewhere, while others straight dump water into the bay. Overall, the whole thing seemed like a non-issue, until the rain at SSE in May showed that given the position of the cut, and the natural angle that the KA has in the bay, water basically hits the valve cover, and runs down the side and collects right on top of the distributor. That sounds like a recipe to have some serious problems down the road in a heavy storm. This thing needs to operate like a regular car, I need to be able to drive it and drift it during shit weather.
My solution was a distributor cover that runs along the edge of the valve cover, to direct water either in front or behind the distributor. I took some scrap steel and trimmed it roughly to the size/shape I need. I made relief cuts on the lip, then bent the entire piece by hand on a vice with an old piece of roll cage tubing to get the round contour. I then welded a tab with a hole to bolt onto the cylinder head:

This project would have been a lot easier with a metal brake, but you just gotta make do with the shit you have laying around sometimes!


I then welded the relief cuts and blasted the entire thing with 40 grit to level it off. I was pretty excited to see how flat the lip came out.

Here’s the final product after some epoxy primer and black paint:

This brings us up-to-date on the hatch build. On the next post, I’ll cover the entirety of the FB6 trip (DC -> Chicago -> Shawano -> DC) and as much detail as I can stuff into one post. I hope ya’ll enjoyed this, and stay tuned for the next one.
Juan